


As usual, it all starts with creating your columns. What do you want to save as data in your feedback module ?
Click on "Create a module"
Add the entries to process in your Feedback module such as Email, Name, Description etc ...
Finish the creation and confirm the creation of your brand new module


For this example we created the form with the Webflow website builder.
Log in to your Webflow account
Create a new form. Remember to name it to find it later (for example: "Feedback form").
Add the fields corresponding to your entries in your Uccello module.
Finally publish and test your form by sending a feedback request.
To connect Webflow to Uccello you will need a 3rd tool call Zapier
Create a Zapier account if you haven't already
Sélectionnez votre compte Webflow et choisissez la soumission de formulaire appelée «Formulaire de commentaires» et l'événement appelé «Créer».
Then link your Uccello account to Zapier to retrieve the data. Add the url of your Uccello application as well as your API key defined in the Uccello settings.
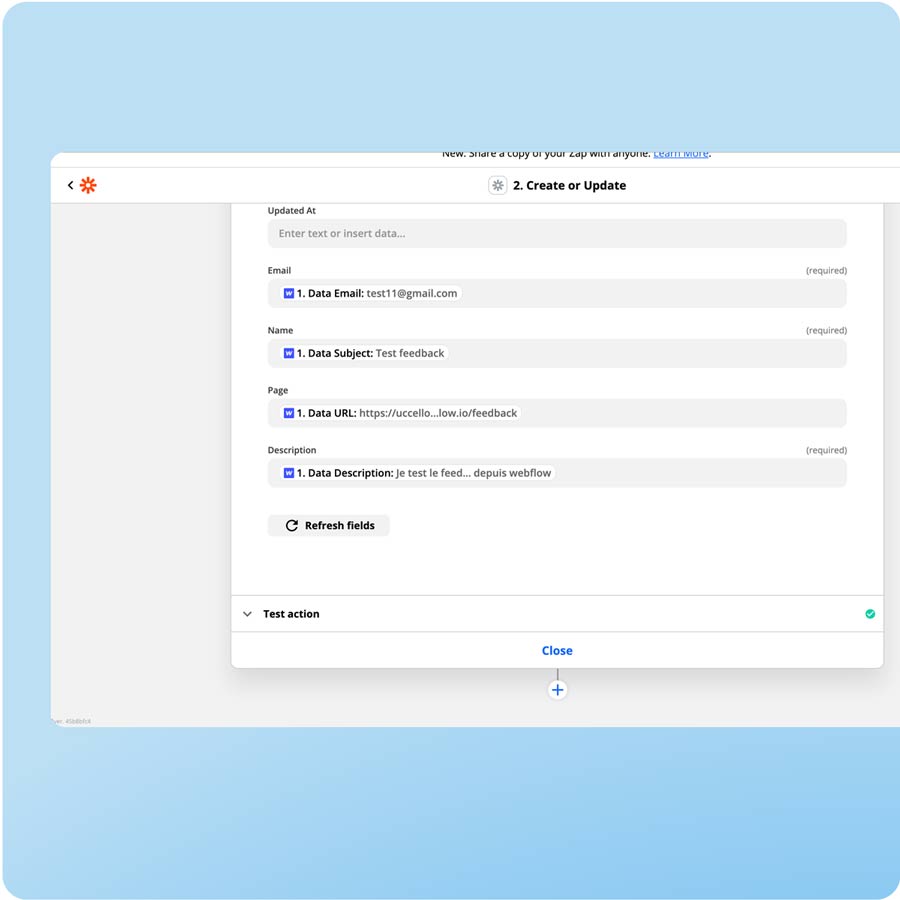

Once connected you now receive all the informations into your module.
Go to the "Feedback" module.
Observe and search data directly in the list view.
Or go to the detailed view of a field for more information depending on your settings.
Do you have questions ? Discover our FAQ


© 2021 Uccello.io Saas
Uccello Family
There is no bad feedback, let us know what we can improve :)